How to create a Polygon Token: Step-by-Step Guide
Author: @Mycryptoview Token
Last Updated: February 27, 2023
Creating your own Polygon token on the Polygon network has never been easier! Polygon is a cutting-edge layer-1 network that offers a scalable and secure platform for developers to launch their own tokens. Whether you're a project looking to create your own token or a developer seeking to build a decentralised application, Polygon makes it possible to create a custom token with ease. In this step-by-step guide, we will walk you through the entire process of creating a Polygon token. We will provide clear and concise instructions that even beginners can follow, so you can create your own Polygon token. So, if you're ready to take advantage of the power of Polygon network, follow our step-by-step guide on how to create a Polygon token:-
Before you go through the steps of creating your tokens, make sure you have got Metamask installed. If you haven't installed Metamask you can go through our guide on how to create Metamask wallet via the link below
https://mycryptoview.com/meta-mask/how-to/how-to-create-metamask-wallet
1. Go to Mycryptoview Token generator via the link below and click on the connect button
https://mycryptoview.com/tool/create-token

2. Login to Metamask and select the Polygon(Matic) network you want to create your token.

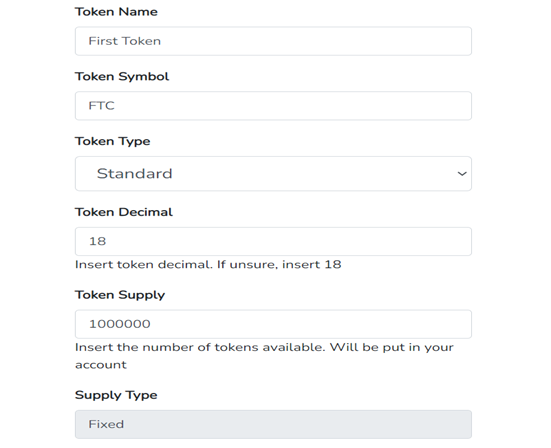
3. Input your token details including the token type – for this guide we are going to select standard token which is a token with fixed supply and no extra functionality like token burn.

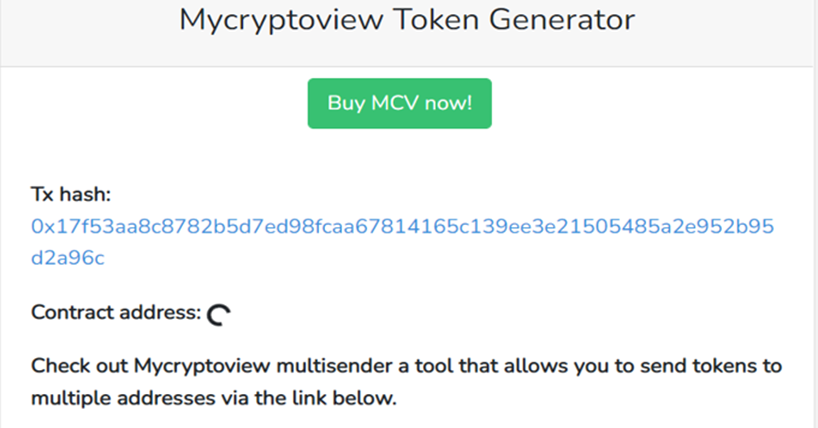
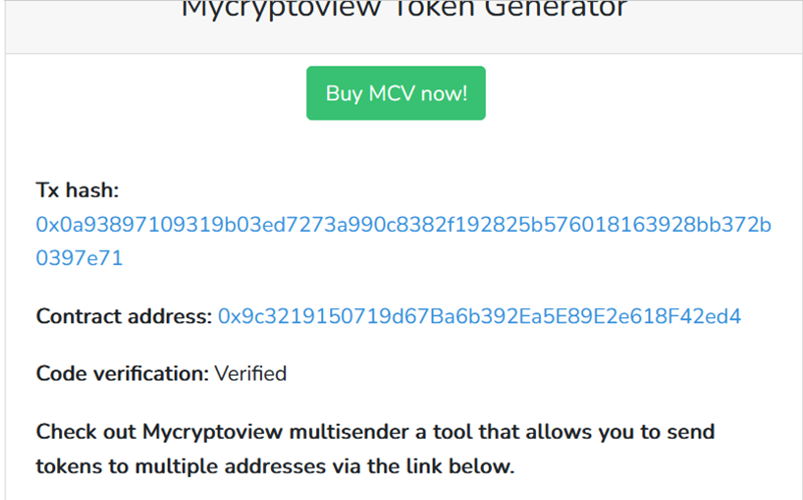
4. Click the create button, wait for transaction confirmation and your token to be verified on explorer like Polygonscan. We automatically verify your token.


Once your transaction is confirmed on the blockchain, you would see a similar screen like below:-

Sponsored
- Your link hereADVERTISE
Ask a question
Ask a question regarding this how-to to earn crypto!
Ask